Blood Strike Mastery: A Deep Technical Guide to High-Octane Battle Royale Success
Blood Strike has rapidly carved out a niche in the saturated mobile FPS market by prioritizing a "low-spec, high-performance" philosophy without sacrificing the mechanical depth found in PC-grade shooters. Unlike more sluggish battle royales, Blood Strike is a game defined by "momentum-based combat"—a system where speed, aggressive movement, and tactical ability usage trump traditional defensive camping. To ascend to the rank of Legend, a player must look beyond simple aim-and-shoot mechanics and master the intricacies of the "Movement-Aim" synergy, loadout optimization, and the economic management of the Strike Market. This guide provides a comprehensive technical breakdown of how to dominate the arena through mechanical precision and strategic foresight.
1. Calibrating the Human-Machine Interface: Optimization and Sensitivity
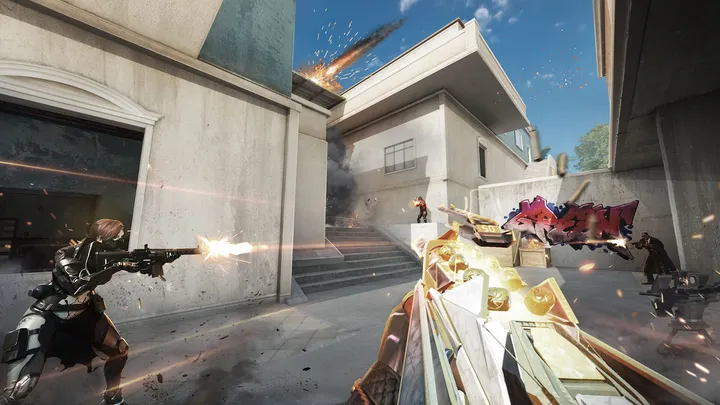
Before the first bullet is fired, your performance is dictated by your technical settings. Blood Strike is a high-speed game; if your frame rate drops during a slide-cancel, you have already lost. The first step in mastery is achieving a stable 90 or 120 FPS. You should prioritize "Performance Mode" over graphical fidelity. Shadows and high-resolution textures often obscure enemy silhouettes in the heat of combat. A clean, high-contrast visual field is the foundation of rapid target acquisition.
Sensitivity calibration in Blood Strike is unique because of the aggressive verticality. You need a "Hybrid Sensitivity" setup—low enough to track at mid-range with an Assault Rifle, but high enough to execute a 180-degree turn instantly when a Striker slides past you. A pro-tip is to utilize "Distance Acceleration" rather than fixed sensitivity. This allows for precise micro-adjustments during long-range snipes while enabling flick-shots when your finger moves rapidly across the screen, effectively giving you the best of both worlds.
2. Mastering Kinetic Movement: The Art of the Slide-Cancel and Bunny Hop
Movement in Blood Strike is your primary defensive layer. The game utilizes a physics engine that rewards "Momentum Preservation." The most critical skill to master is the Slide-Cancel. By initiating a slide and immediately tapping the jump button, you reset your character's standing animation while maintaining the slide's velocity. This allows you to "camera" opponents—moving faster than their screen can refresh, making you nearly impossible to hit.
Beyond the slide, you must master "Verticality Integration." Blood Strike maps are designed with parkour in mind. You should never use a ladder when you can jump and mantle.
Advanced Movement Techniques
- The Bunny Hop: After a slide-cancel, time your next jump precisely as your feet touch the ground to maintain speed across open fields.
- Zig-Zag Strafing: When under fire, alternate your joystick rapidly while crouching intermittently to break the enemy’s aim-assist lock.
- Air-Strafing: Use the joystick in mid-air to curve your jump trajectory around corners, surprising enemies who are pre-aiming the standard entrance.
3. Striker Synergy: Selecting and Evolving Your Combat Identity
Each Striker in the game possesses a unique tactical kit that dictates their role on the battlefield. Success depends on "Ability Timing"—knowing when to burn your cooldowns to gain a decisive advantage. For example, Ethan’s protective barrier isn't just for defense; it can be used aggressively to "block" a doorway while you reload, forcing the enemy to push through a disadvantageous choke point.
Top-Tier Striker Specializations
- Zero: The king of reconnaissance. His sensor bow should be used not just to find enemies, but to track their movement through walls to pre-fire.
- Kala: The ultimate aggressive support. Her toxic grenades force enemies out of cover, allowing your team to pick them off in the open.
- Volt: High-mobility disruptor. Use his electromagnetic pulses to disable enemy HUDs and abilities right before a synchronized team breach.
Evolution is also key. During a match, you gain experience to level up your Striker’s passive perks. Always prioritize "Cooldown Reduction" or "Movement Speed" perks early in the game to maximize your engagement frequency.
4. The Ballistics of Victory: Loadout Customization and Recoil Control
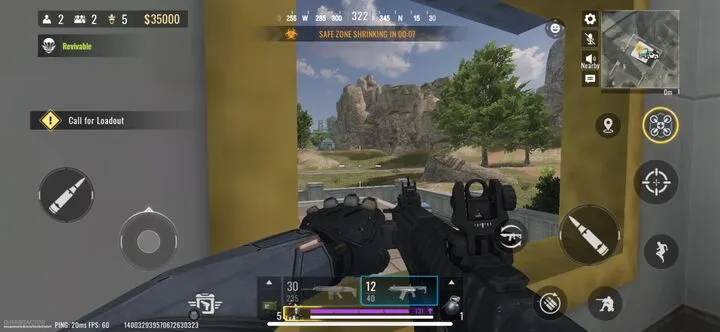
The Blood Strike weapon system is built on a "Stat-Weights" philosophy. Every attachment you add affects the hidden balance of the gun. For SMGs like the Vector, you should focus on Hip-Fire Accuracy and Sprint-to-Fire Speed. In close-quarters combat (CQC), the milliseconds it takes to ADS (Aim Down Sights) can be fatal. If your hip-fire is tight enough, you can begin dealing damage before your opponent has even raised their weapon.
For Assault Rifles, the technical challenge is "Recoil Pattern Internalization." Most ARs in the game have a vertical climb followed by a horizontal drift to the right. To counter this, you must apply a steady "Down-and-Left" pressure on your aim finger. Mastering the first five bullets is more important than spraying the entire magazine. If you can land the initial burst on the upper chest, the natural recoil will often lead to a finishing headshot.
5. Strike Market Economics: Resource Management for the Late Game
The "Strike Market" is a persistent economy within the Battle Royale. Money is earned through kills, loot caches, and objectives. A common novice mistake is hoarding cash. You should follow a "Spend-to-Win" strategy. In the early game, your first $5000 should always go toward a Custom Loadout Drop. Your tailored weapon is statistically superior to any floor loot and provides the consistency needed to win mid-game duels.
In the late game, the economy shifts toward "Utility Dominance." You should always carry at least one UAV and a Self-Revive Kit.
Priority Purchase List:
- Custom Loadout: Tier 1 priority.
- UAV: Essential for endgame circle positioning.
- Armor Plates: Always buy the max capacity; attrition is the silent killer.
- Squad Recall: If playing in teams, save enough for one recall to bring back your carry during the final circle.
6. The "Power Position" Philosophy: Map Geometry and Zone Control
Map knowledge in Blood Strike is about more than knowing the names of locations; it’s about identifying "Power Positions"—areas that provide a 360-degree field of view with minimal exposure. High ground is the most obvious advantage, but you must also consider "Material Penetration." Many walls in Blood Strike are "thin," meaning high-caliber ARs and Snipers can deal damage through them.
When the zone shrinks, you should practice "Edge-Hugging" or "Center-Holding" based on your loadout. If you have a Sniper, stay on the high ridges at the edge of the zone to pick off stragglers. If you are a CQC specialist, push for the central buildings early. This is "Zone Anchoring"—securing a building and placing traps or Striker abilities to turn it into an impenetrable fortress that enemies are forced to push as the gas closes in.
7. Tactical Grenade Usage: Beyond Simple Damage
In Blood Strike, grenades are tactical tools rather than just explosive devices. The Smoke Grenade is the most versatile item in your inventory. It isn't just for hiding; it’s for "Visual Manipulation." You can throw a smoke to your left while you push to your right, baiting the enemy to pre-fire into the cloud.
Grenade Hierarchy
- Flashbangs: Use these specifically when you hear an enemy reloading or plating up. It prevents them from reacting to your push.
- Molotovs/Gas: These are "Area Denial" tools. Use them to block off a flank while you focus on a 1v1 in front of you.
- EMP Grenades: Crucial for disabling automated turrets or Striker barriers that would otherwise halt your momentum.
8. The Psychology of the Duel: Baiting, Peeking, and Conditioning
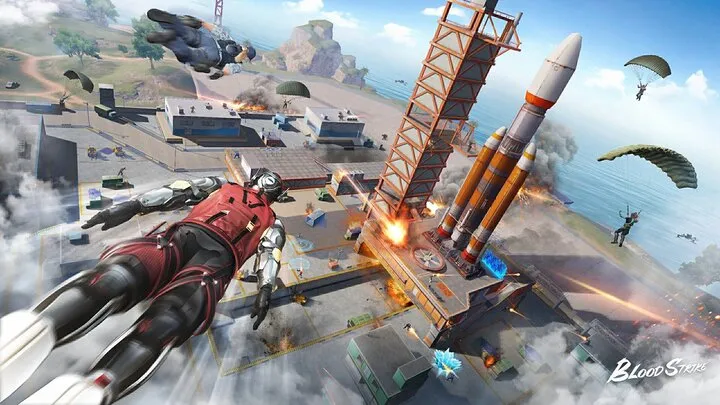
Battle Royale is as much a psychological game as it is a physical one. You must master "The Peek." There are two types: the Shoulder Peek and the Wide Swing. Use the shoulder peek to bait out sniper shots or to gather info without exposing your hitbox. Once you’ve located the enemy, use a wide swing (sliding past the corner) to break their aim-assist.
"Conditioning" is another high-level tactic. If you peek the same window three times, the enemy will lock onto that pixel. On the fourth time, rotate to a different floor or flank entirely. By training them to expect you in one spot, you create a "Blind Spot" that you can exploit for an easy kill. Always remember: in a 1v1, the person who moves first usually has the "Peeker’s Advantage" due to network latency—so play aggressively rather than waiting for them to push you.
9. Squad Coordination: The "Focus Fire" and "Role Distribution"
In team modes, individual skill is multiplied by coordination. The most effective squad tactic is Focus Fire. By calling out a single target and having three players fire simultaneously, you can delete an enemy before they can even react with a slide or a shield. This requires "Vocal Discipline"—short, clear callouts like "Volt, Blue House, 2nd floor, Cracked!"
Squad Roles
- The Entry Fragger: Usually a Volt or Zero player who initiates the fight with high mobility and intel.
- The Anchor: A player with an LMG or Sniper who stays back to provide cover fire and prevent the squad from being third-party attacked.
- The Medic/Support: Focuses on keeping armor plates distributed and using abilities like Ethan's shield to protect the team during a reset.
10. The Endgame Grind: Analyzing Death and Improving Consistency
The path to Legend is paved with losses. To improve, you must adopt a "Review Culture." Every time you die, ask yourself: Was it an aim error, a movement error, or a positioning error? Most deaths in Blood Strike are the result of "Over-Extending"—pushing too far without armor or information.
Consistency comes from "Routine." Warm up your aim in the training grounds for 10 minutes before jumping into ranked. Focus on your "Crosshair Placement"—keeping your reticle at head-height at all times, even when looting. By making these high-level behaviors automatic, you free up your mental energy to focus on the macro-strategy of the game. The difference between a Platinum player and a Legend isn't just aim; it's the ability to make the right decision under the pressure of the final circle.
Conclusion
Mastering Blood Strike is a journey of refining your mechanical reflexes and your tactical intellect. It is a game that rewards the bold but punishes the reckless. By optimizing your technical interface, mastering the kinetic flow of movement, and understanding the deep synergies between Strikers and their loadouts, you transform the battlefield from a place of chaos into a domain of control. Whether you are slide-canceling through a hail of bullets or strategically managing the Strike Market to fund your endgame utility, every decision you make contributes to the final "Victory" screen. Embrace the speed, respect the ballistics, and never stop moving. The arena is yours for the taking.


